Introduction to Java Mission Control in Eclipse
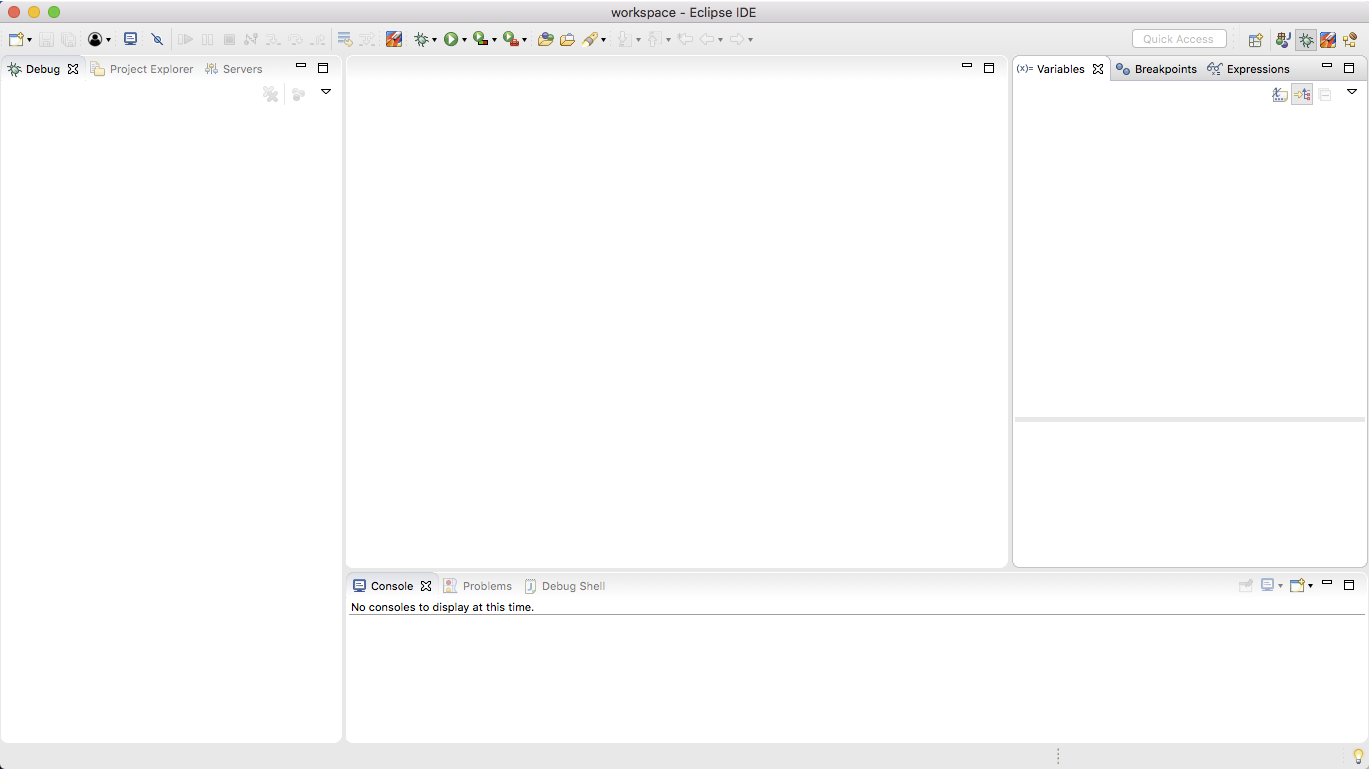
First make sure that you followed the instructions in the README.md file in the root of the GitHub repository to the letter, and that the JMC plug-ins are installed Next start Eclipse and switch to the Java perspective. You should now see something looking somewhat like below:
First we will need to verify that the JDK 11 runtime is properly configured and available for Eclipse to use.
- Open the Preferences (Eclipse | Preferences… on Mac OS X, Window | Preferences… on Windows).
- In the filter box in the upper left of the Preferences dialog, type JRE, then select Installed JREs.
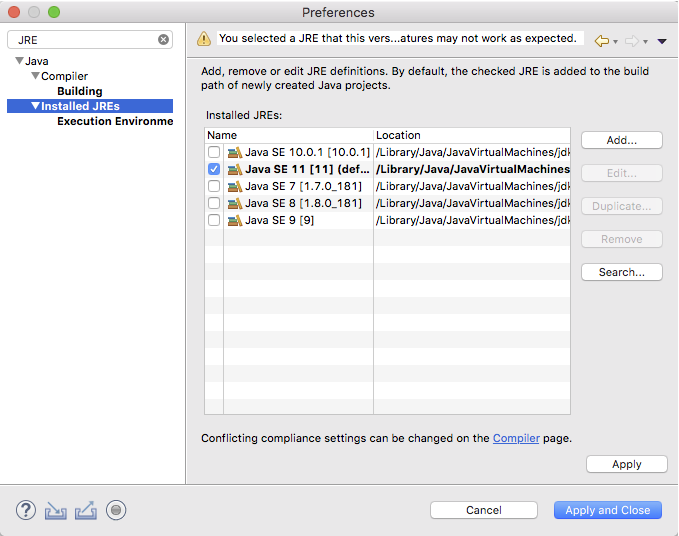
- If you already have various JDKs installed, they may already show up here. If they don’t, click add to add them. There is a JDK 11 provided in the HoL zip.
Note: when adding a JRE on Mac, select Mac OS X VM. Also note that you
should browse to the <JDK>/Contents/Home folder.
-
Ensure that your JDK 11 is the default by checking the checkbox next to it.
-
Ensure that your execution environments are correctly mapped for JDK 8.
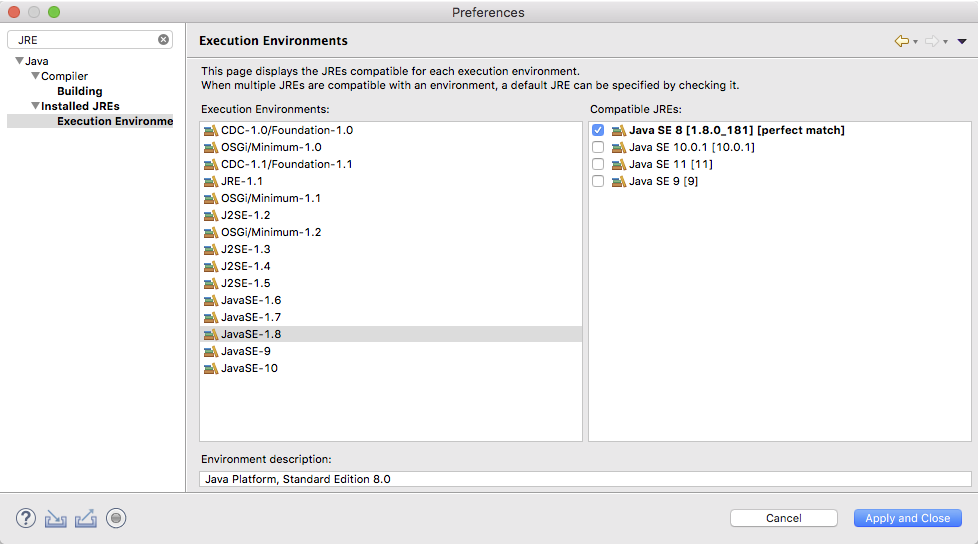
Don’t forget to click Apply and Close when done.
Java Mission Control and Eclipse
Next we will have to import the projects with all the examples into the workspace.
-
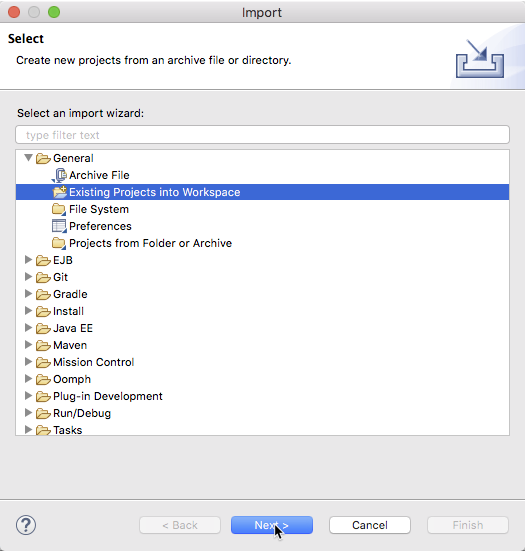
Select File Import… from the menu. - In the Import dialog, select Existing Projects into Workspace and hit Next.
-
Browse to the projects folder in the root tutorial folder and click Open.
-
Select all projects and click Finish.
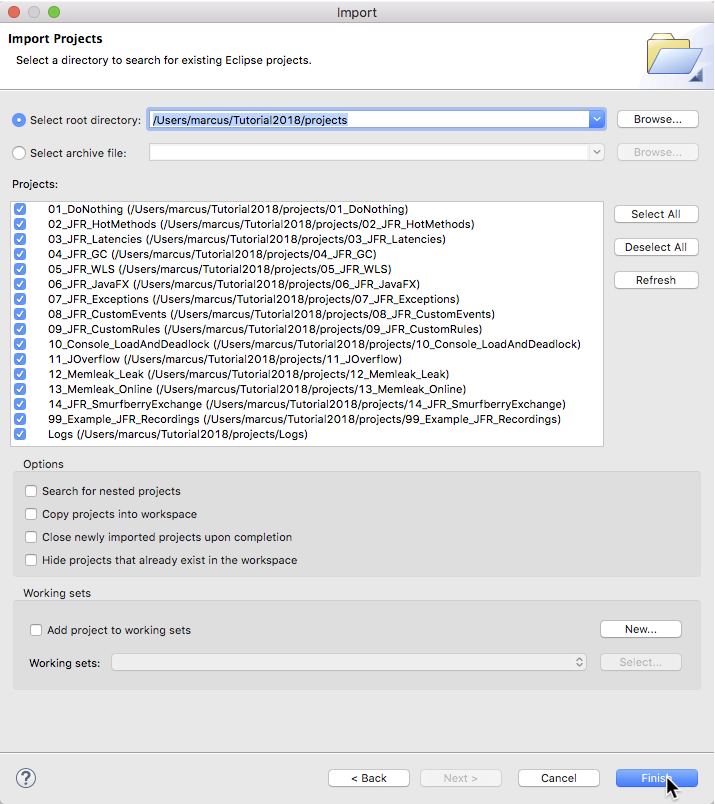
You should now see something similar to the following:
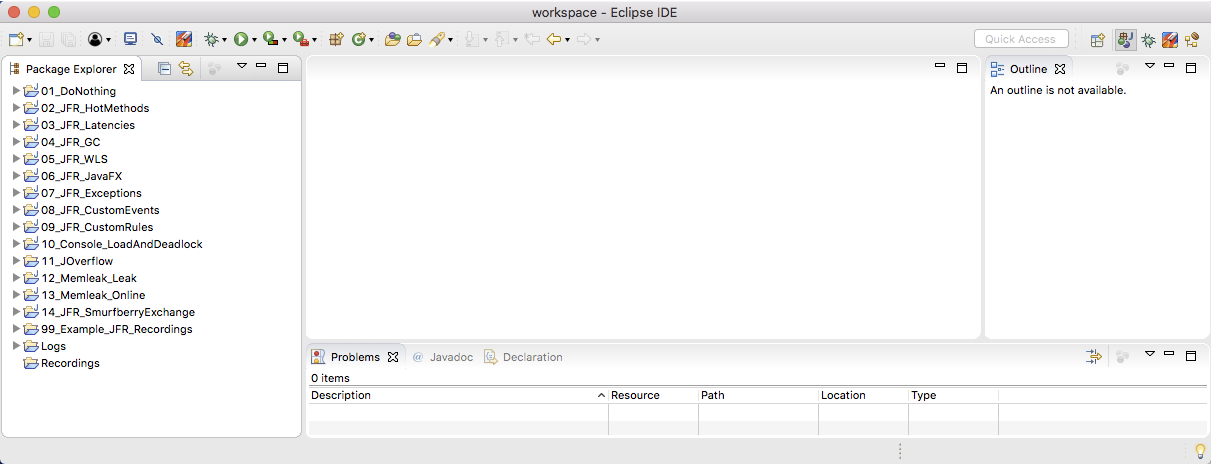
Eclipse Java Mission Control Perspective
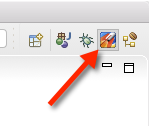
To the left the projects for the different exercises can be seen. In Eclipse a configuration of views is called a perspective. There is a special perspective optimized for working with JMC, called the JDK Mission Control perspective. To open the JDK Mission Control Perspective, click the Mission Control perspective in the upper right corner of Eclipse.
In this tutorial, you will be constantly switching between the Java perspective, to look at code and to open flight recordings, and the Mission Control perspective, to access the JVM browser and optimize the window layout for looking at flight recordings.
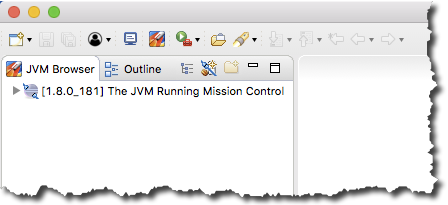
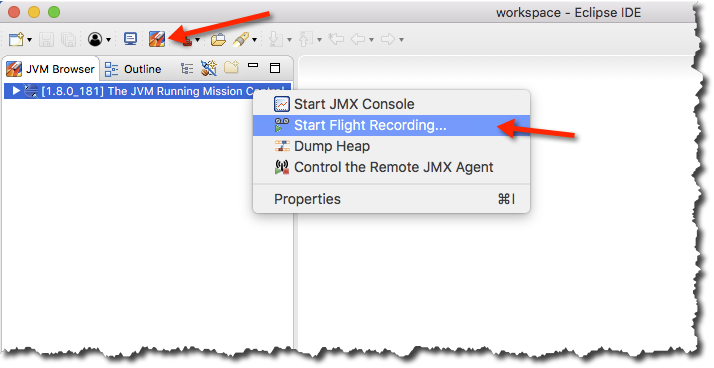
As can be seen from the picture below, the JVM running Eclipse (and thus JDK Mission Control) will be named The JVM Running Mission Control, just like in the stand-alone version of JDK Mission Control.
Start JVM Flight Recorder in Eclipse
Launching the tools work exactly the same as in the stand-alone version. Either use the context menu of the JVM that you wish to launch the tool on, or click the Mission Control button on the toolbar to launch a Wizard.
The Java perspective is the perspective with a little J on the icon:

Go back to the Java perspective, so that you can see the projects in the Package Explorer view again.

Here are some additional videos and articles of mine (Cameron McKenzie) about Java Mission Control and Java Flight Recorder: