JDK Mission Control Download and Installation
This tutorial provides plenty of examples and material to help you learn JDK Mission Control (7+).
Flight Recorder & Mission Control Preparations
Since it is not practical to pre-package everything required to run the material here at GitHub, there are some preparations required before starting the Tutorial.
Setting up the JDK
You will need to have a JDK 11 or later to do this tutorial. Here’s a quick tutorial on how to install AdoptOpenJDK.
You will need to ensure that java for your JDK is on your path, and you should also make sure that your JAVA_HOME variable is set to the parent folder of the bin folder containing your java binary.
Getting the stand alone version of JMC
The open source version of JMC has not been released yet, but early access builds can be downloaded from here: http://jdk.java.net/jmc
AdoptOpenJDK and Mission Control
Here’s a link to get the AdoptOpenJDK Java Mission Control and JDK distribution: https://adoptopenjdk.net/jmc.html
Installing JDK Mission Control
To do the exercises in this tutorial, you must first install Eclipse and Java Mission Control.
https://github.com/thegreystone/jmc-tutorial
In this repository you will also find the files and code required to complete the tutorial.
Starting JDK Mission Control
There are two separate ways of running JDK Mission Control available: as a stand- alone application or from within Eclipse.
This exercise shows you how to start both the stand-alone and the Eclipse plug-in versions of JDK Mission Control.
The Stand-Alone Version of JMC and JFR
Go to the directory where you installed the stand-alone version of JMC. In the bin folder, you will find a jmc launcher. Either double-click it or run it from the command line. A splash screen should show, and after a little while you should be looking at something like this:
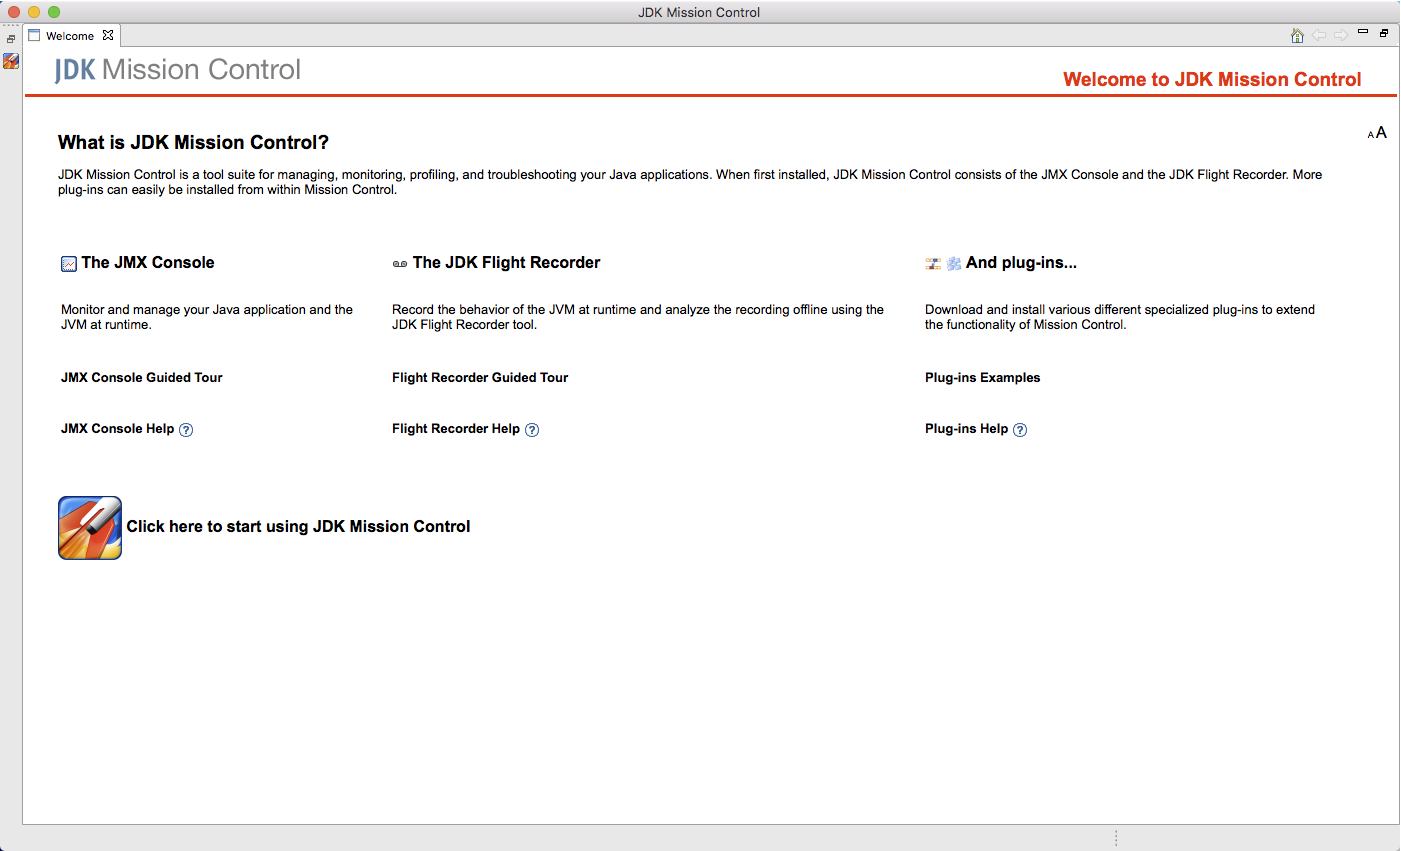
The welcome screen provides guidance and documentation for the different tools in JDK Mission Control. Since you have this tutorial, you can safely close the welcome screen.
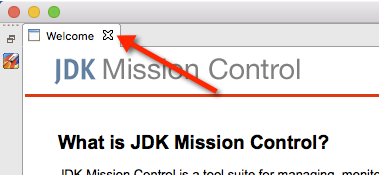
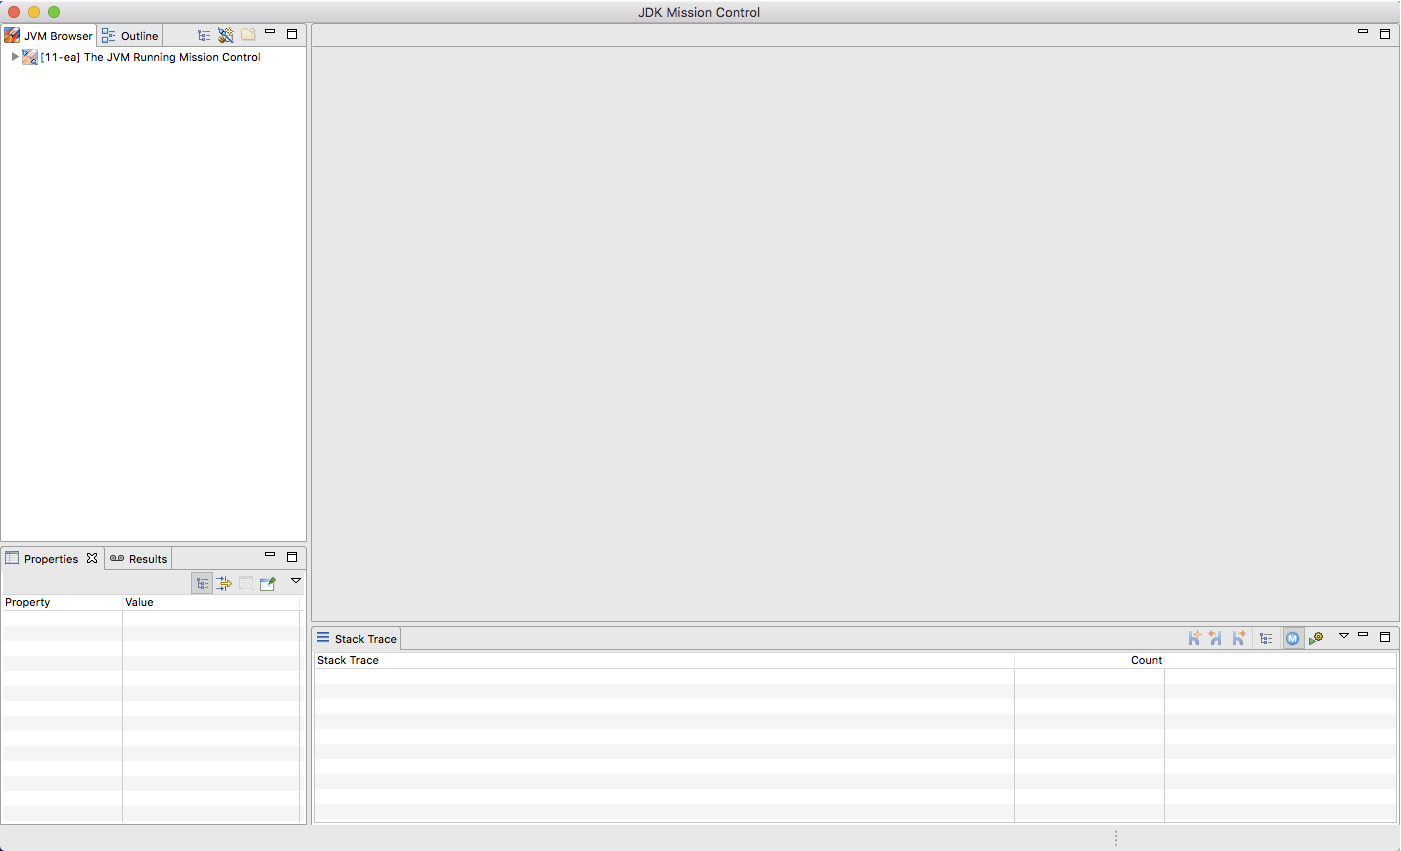
Closing the welcome screen will show the basic JDK Mission Control environment. The view (window) to the left is the JVM Browser. It will normally contain the automatically discovered JVMs, such as locally running JVMs and JVMs discovered on the network.
Java Mission Control Introduction
To the bottom left is the Properties view, showing properties for anything selected in the editor.
Behind the Properties view is the Results view, which shows the results from the automated analysis relevant to the currently opened page in the editor.
Below the editor area is the Stack Trace view, which shows the aggregated stack traces for anything selected in the editor.
To launch the different tools, simply select a JVM in the JVM Browser and then select the appropriate tool from the context menu. For example, the Management Console can be started on a JVM by selecting the JVM in question in the JVM Browser and selecting Start JMX Console from the context menu.
In the JVM Browser, the JVM running Mission Control will be shown as The JVM Running Mission Control.
Since we will be running the tutorial from within Eclipse, please shut down (⌘ +Q on Mac, alt+F4 on Windows) the stand-alone version of JDK Mission Control.

Here are some additional videos and articles of mine (Cameron McKenzie) about Java Mission Control and Java Flight Recorder: